In this tutorial we are going to move a quite big database (~160GB) to an Azure SQL Database using BACPAC and Azure Storage. We are going to describe below the process of exporting a database from your local SQL Server instance and importing it to an Azure SQL Database.
First things first, in order to proceed with the above action we are going to use the following tools:
- SQL Server Management Studio, to export our local SQL server database.
- AZCopy to upload the database to our storage account.
- Windows Azure portal to import our recently exported database to Azure.
So, let’s begin.
Exporting our database to a `bacpac` file
A BACPAC (Backup Package) is an artifact that encapsulates the database schema, as well as the data stored in the database. The BACPAC is a Windows file with a .bacpac extension.
BACPAC focuses on capturing schema and data. It is the logical equivalent of a database backup and cannot be used to upgrade existing databases. The primary use case for BACPAC is to move a database from one server to another -or from a local server to the cloud- and to archive an existing database in an open format.
BACPAC supports two main operations:
- EXPORT– The user can export the schema and the data of a database to a .bacpac file.
- IMPORT – The user can import the schema and the data into a new database in the host server.
Export Data – Tier Application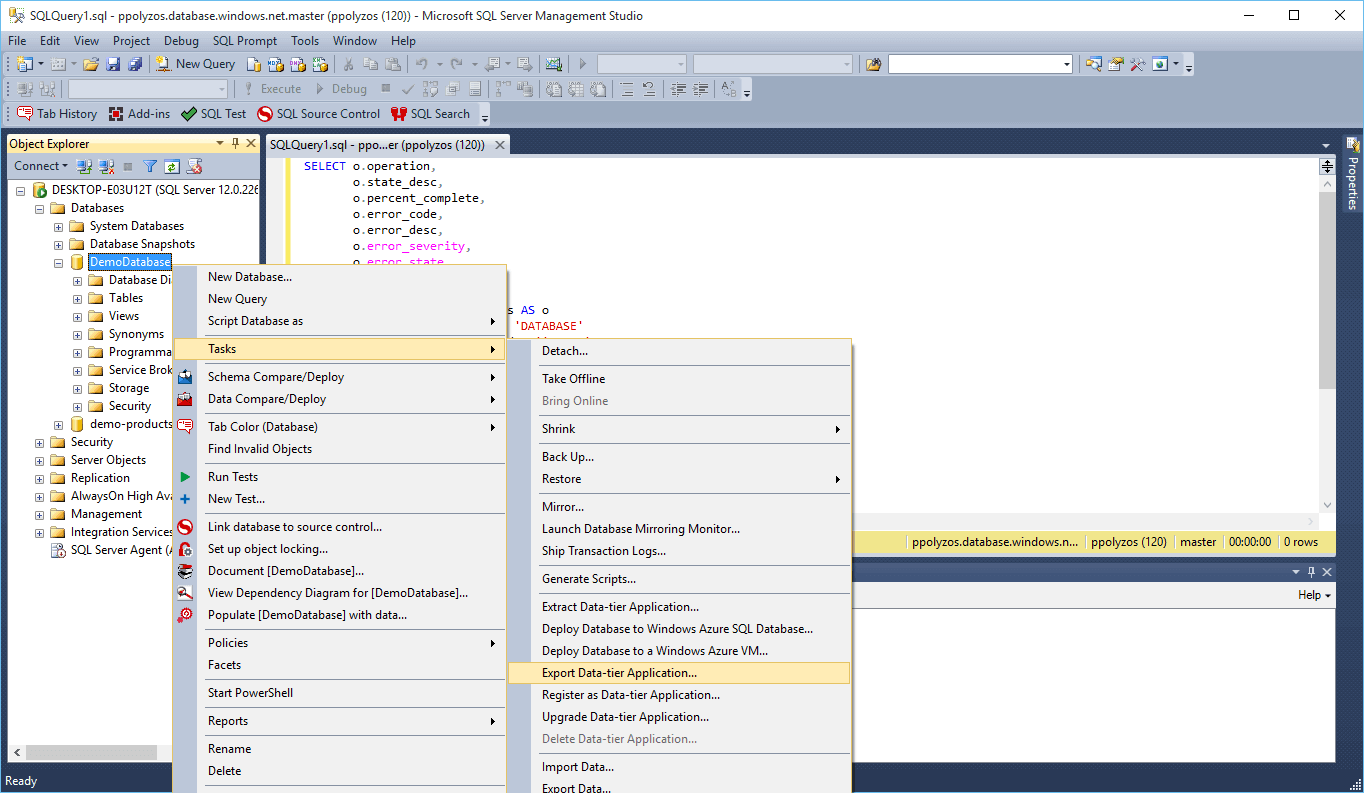
Export Data – Tier Wizard

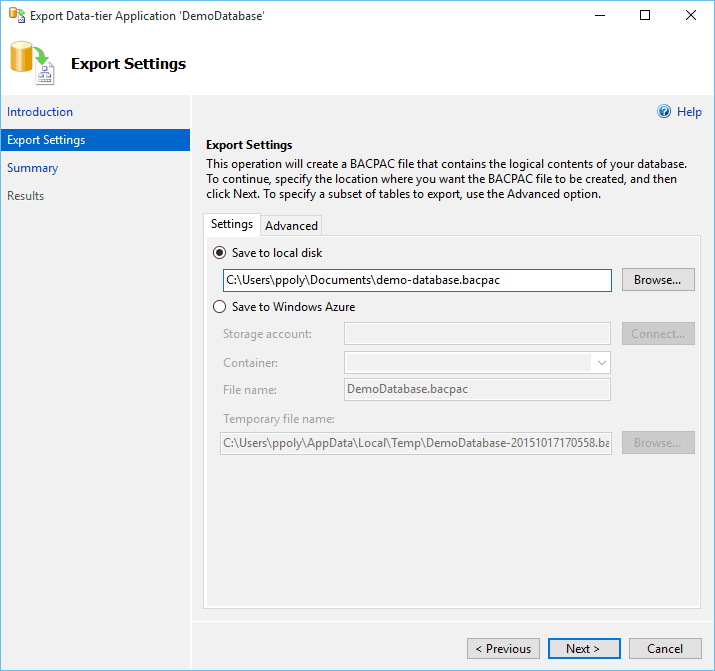
Select path for your .bacpac to be exported
Please note that you can directly save the .bacpac file to your Azure Storage account.
Export Data – Tier Overview

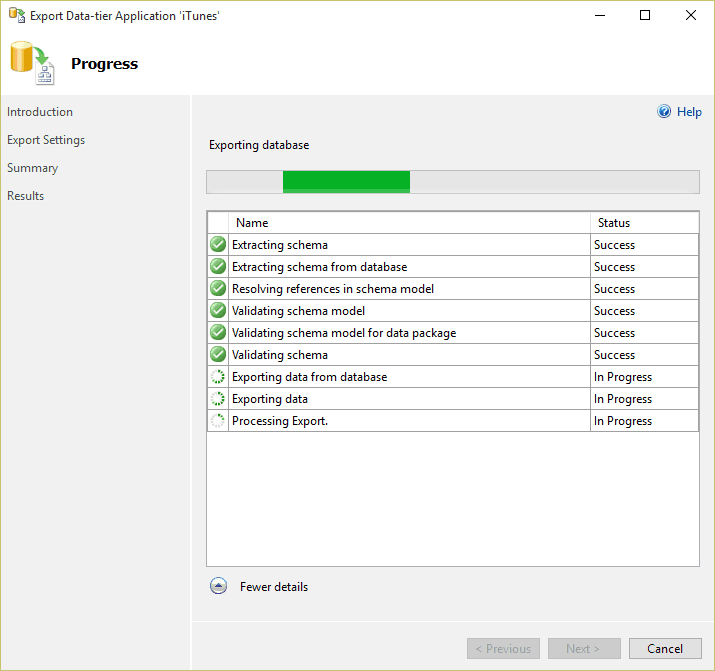
Export Data – Tier Progress
Based on your database size and the processing power of your machine, this process may take some time.
Upload the .bacpac file to Azure Storage Account using AZCopy
AzCopy is a command-line utility designed for high-performance uploading, downloading, and copying data to and from Microsoft Azure Blob, File, and Table storage. You can learn a lot more about it here.
AzCopy /Source:C:\myfolder /Dest:https://myaccount.blob.core.windows.net/mycontainer /DestKey:key /Pattern:demo-database.bacpac[table] Option Name[attr style=”width:200px”],Description
/Source:<source>”, “Specifies the source data from which to copy. The source can be a file system directory, a blob container, a blob virtual directory, a storage file share, a storage file directory, or an Azure table.”
/Dest:<destination>, “Specifies the destination to copy to. The destination can be a file system directory, a blob container, a blob virtual directory, a storage file share, a storage file directory, or an Azure table.”
/Pattern:<file-pattern>, “Specifies a file pattern that indicates which files to copy.”
/DestKey:<storage-key>, “Specifies the storage account key for the destination resource.”
[/table]
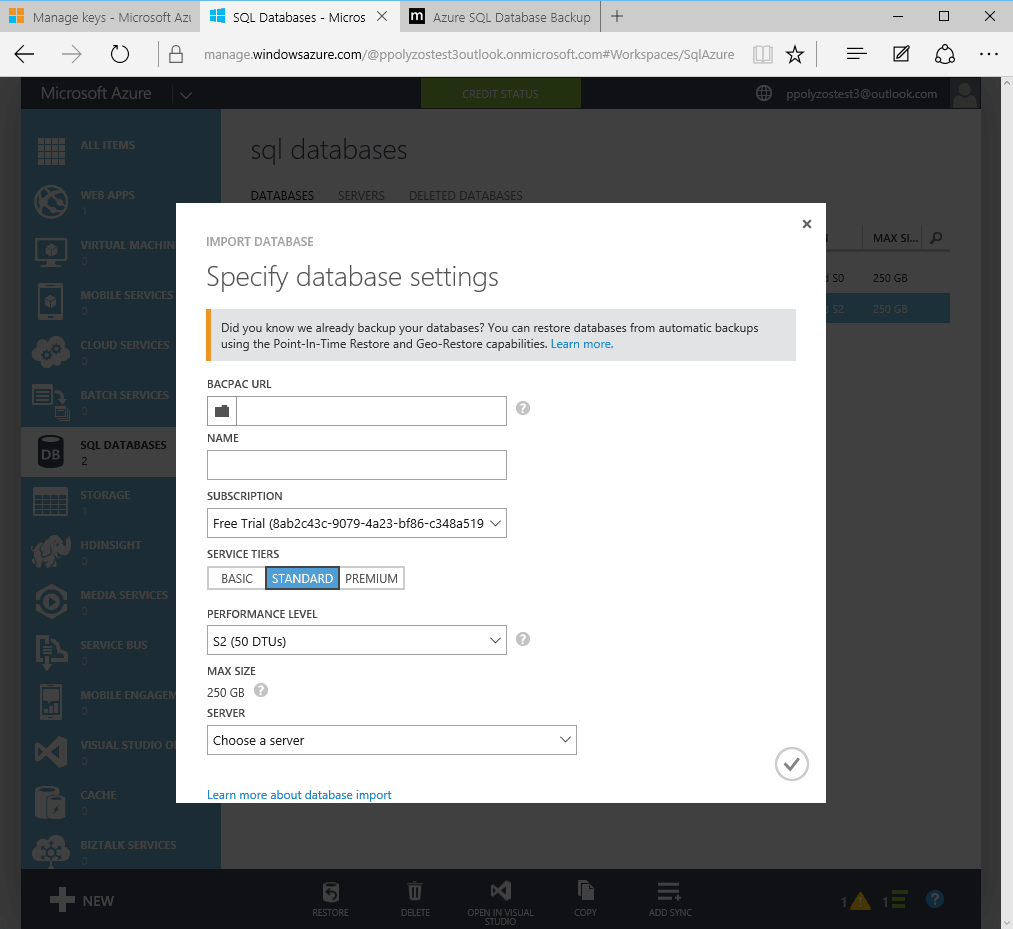
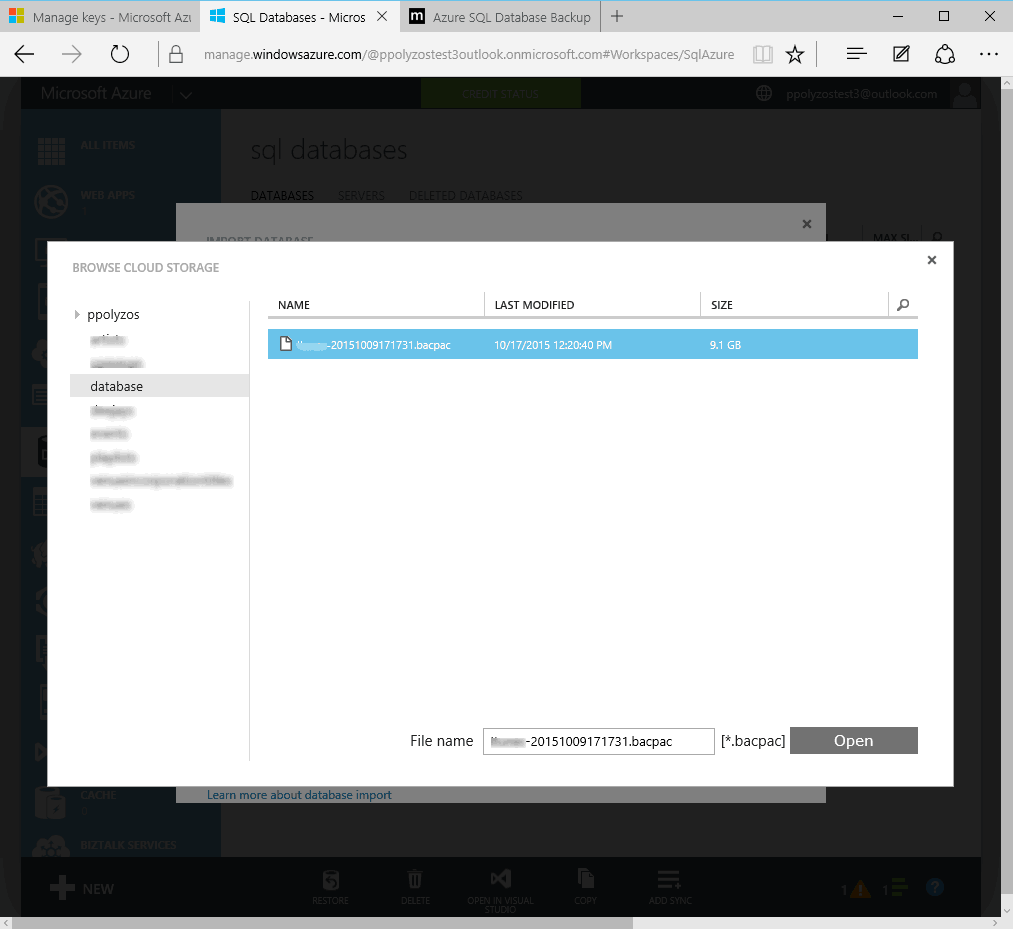
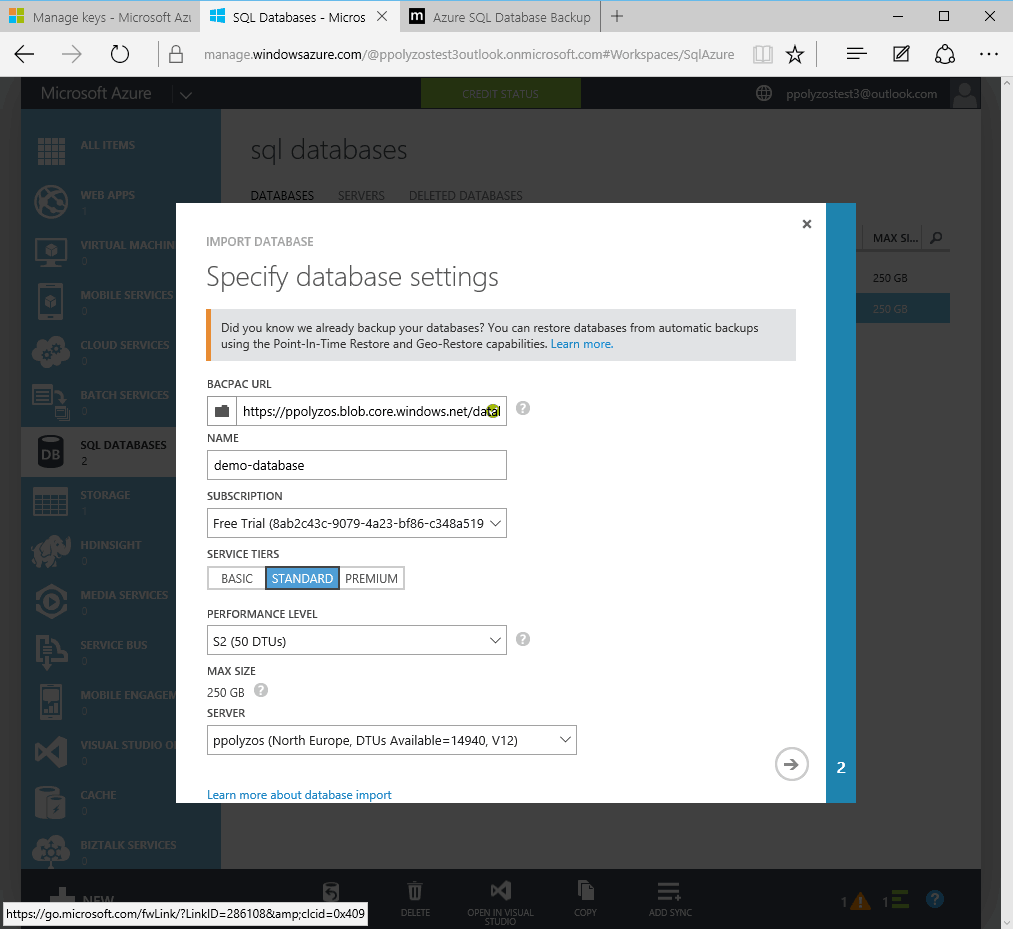
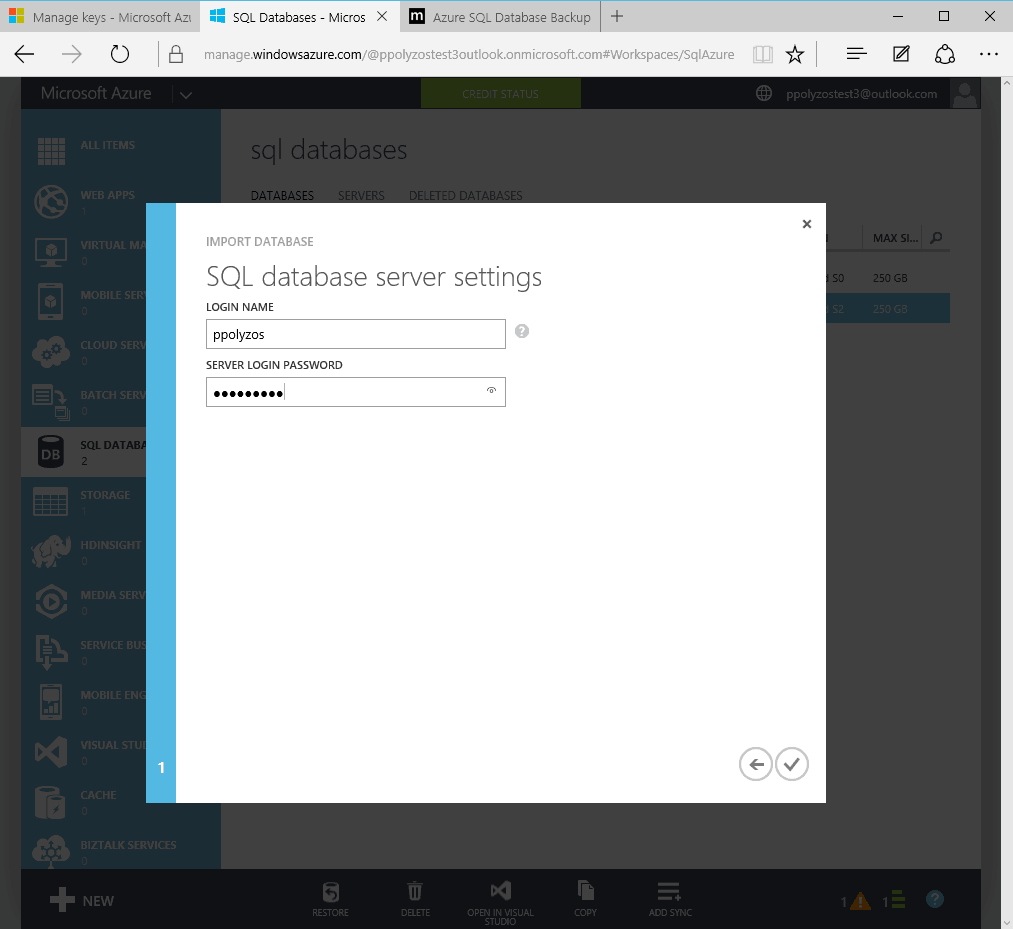
Import database from Azure Storage to Azure SQL Database
Now we are going to create a new SQL Server database from the recently exported database. In order to achieve this we are going to use the Import Feature found in the old Azure portal.
Login to your Windows Azure Portal
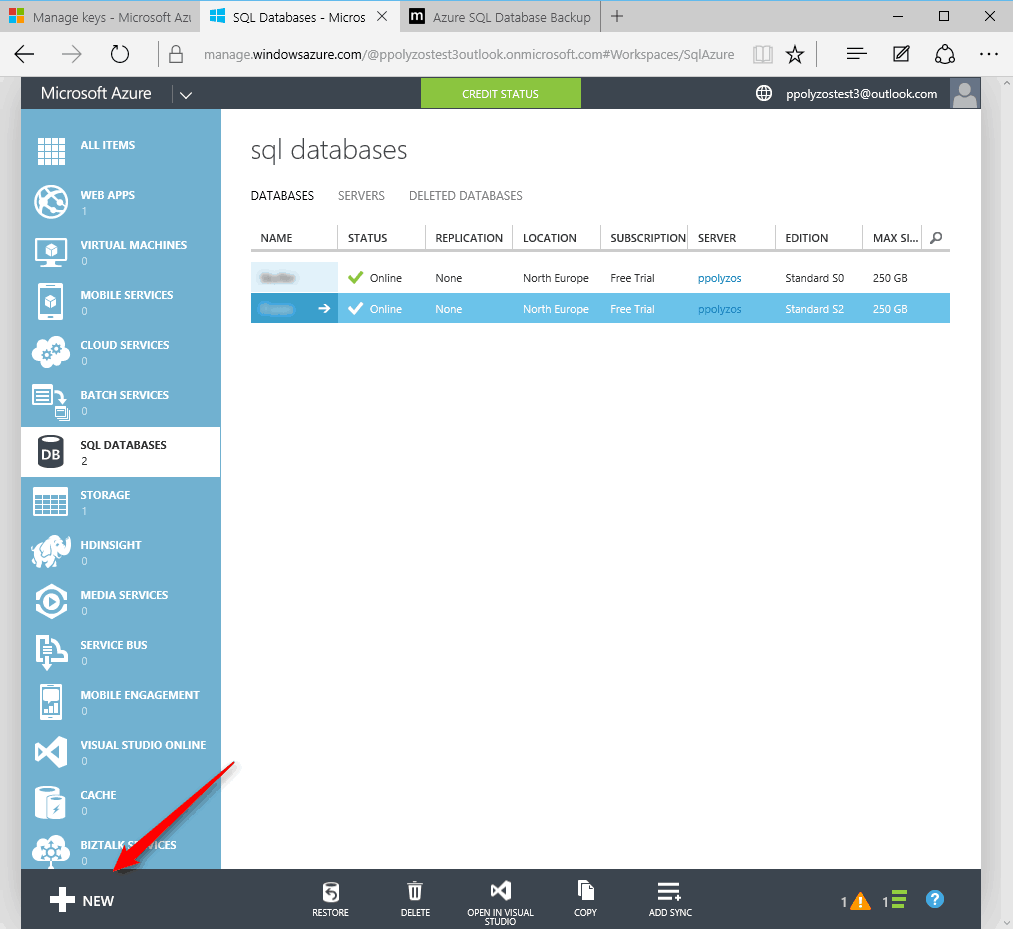
Select New SQL Database and Choose Import

Setup Database settings
Select the .bacpac file from your Azure Storage Account
Select a pricing tier for your database
Specify the account details of your SQL server
Import Database progress has started
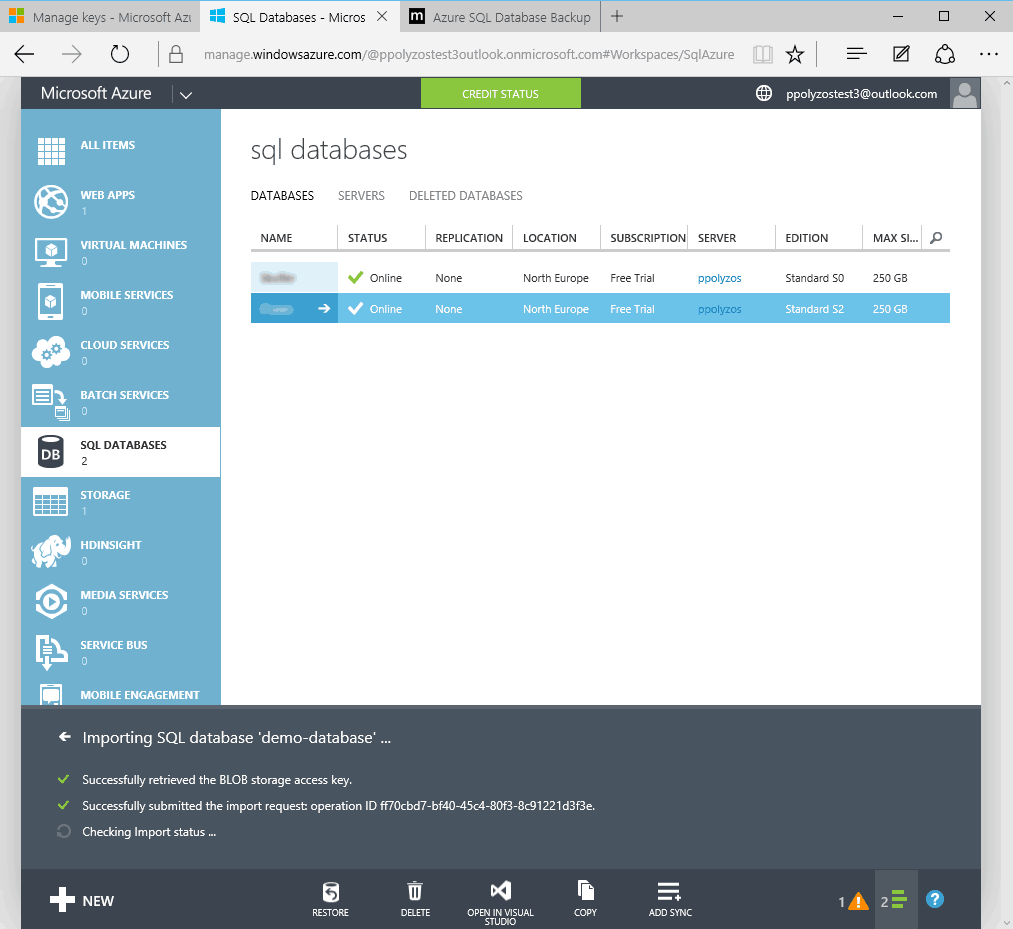
Based on the Pricing Tier you have selected and the size of the database you wish to import, this might take awhile.
[box type=”note” width=”100%” ]Tip: select a tier with enough DTUs to speed up the import process and then scale your database down to a cheaper price tier![/box]