When you create an Azure website, you are automatically provided with a production slot that represents your live website. In addition, with each deployment slot, you are eligible to create up to four additional deployment slots that you may swap with the production slot or with the other non-production slots. Having this option, you can create more robust deployment workflows than just deploying your website directly to production.
For example, apart from the production slot, you can additionally create a dev and a staging slot. Then you may swap from dev to staging and from staging to production exchanging, between one another, site content and certain parts of the slot configuration with no downtime, something which may prove useful considering the following scenarios:
Staged deployment
In a staged deployment, you deploy to a non-production slot that is acting as a staging environment. In this environment, you test whether the website is working as expected, and when you are satisfied with the result, you swap the production slot with the staging slot, thus rendering the staged content and certain parts of the configuration the new production website.
Incremental deployment
If your website deployment includes incremental steps that you need to retake in a post-deployment phase, you can deploy first to a non-production slot, make those changes, and then swap with the production slot so as to make the updated website live.
Rolling back deployment
If, after swapping a non-production slot into production, you need to roll back the deployment, you can swap the production slot again with the slot that contains the previous production content and configuration, thereby rolling back the deployment.
To learn more on how to create deployment slots and publish your code to them, you can read this article or watch Azure WebSites – Deployment Slots for Staging Sites from Azure Friday in Channel 9:
Swapping Deployment Slots
When you swap deployment slots, even though the website content is fully swapped to the target deployment slot, not all configuration items do the same. In particular:
Configuration items that move to the destination slot:
- General settings (for example, .NET framework version, Web Sockets, Always On)
- Connection strings
- Handler mappings
- Application and site diagnostics settings
- Monitoring settings
Configuration items that will not move to the destination slot:
- Publishing endpoints
- Custom domain names
- SSL certi cates and bindings
- Scale settings
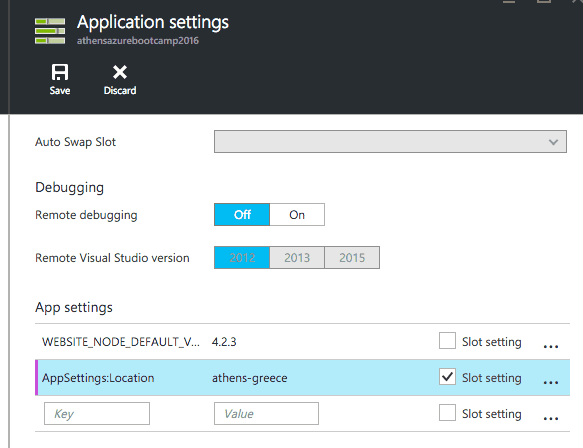
In addition, all application settings and configuration strings that are marked as “Slot Setting” stay with the deployment slot.
Why Deployment Slots are helpful?
When deploying your website directly to production, using WebDeploy, FTP, git or any other way, you may come across the following:
- After the deployment is completed the website might restart. This means that your website may have a cold start, the first request will be slower to process and multiple requests may stack up until the app is ready to process them.
- If the version you have deployed has any issues, you may redeploy a previous version that takes more time than a simple Rollback with the content of your previous slot.
Sometimes, though, hitting the website’s root url is not enough to completely warm up your application. You may want, before making you app fully accessible to users, to pre-populate the in-memory cache.
Application Initialization Module
As of January 6th 2016, the application initialization module has been implemented and is available to use while you swap content between deployment slots. This module has also been implemented regarding all other operations in which a new worker is provisioned (such as auto scale, manual scale or Azure fabric maintenance). Namely, you can proactively perform initialization tasks before your app becomes available.
Enabling Application Initialization
In order to enable the said module you need to create an applicationInitialization section where you shall define the url to be hit for the initialization task to begin. You have also the option to specify the hostName to be used for the warm up requests, something that may prove really helpful for debugging and monitoring purposes. If not otherwise specified, the “localhost” will be used as host name.
<system.webServer>
  <applicationInitialization>
    <add initializationPage="/app/initialize" hostName="warmup-requests.domain.com"/>
  </applicationInitialization>
<system.webServer>
Following the above, the swap operation between deployment slots will be completed after the code under “app/initialize” url is executed.
What happen with the migrations when I swap the staging and production slots? Do the run for the production slot when the swap is made? I would like to know which is the best approach for it.
Migrations is something that you can control during swap between deployment slots. You may have an application setting which is different between deployment slots and based on its value you can execute Code First Migrations or not.
Let’s assume you have a setting variable called `MigrateDbToLatestVersion` which is `true` for staging slot and `false` for production slot.
(Different settings per slot are achieved by checking Slot Setting)
Then you may decide to run migrations manually from the Application_start method or Global.asax based on the value of that setting.
if (bool.Parse(ConfigurationManager.AppSettings["MigrateDbToLatestVersion"]))
{
    var configuration = new DbMigrationsConfiguration();
    var migrator = new DbMigrator(configuration);
    migrator.Update();
}
The code above is just to get you an idea of how to manually run the migrations manually. You Learn more about DbMigrator class here