Step 1. Setup your Azure Storage Account
First of all, you need to have a StorageV2 storage account and, to do so, please click on the Create resource icon, then, in the Storage category, select Storage account (blob, file, table, queue) and fill all the necessary details for your account as shown in the picture below.
One thing to remember is that, to have Static Website functionality, your account should be a StorageV2 one.

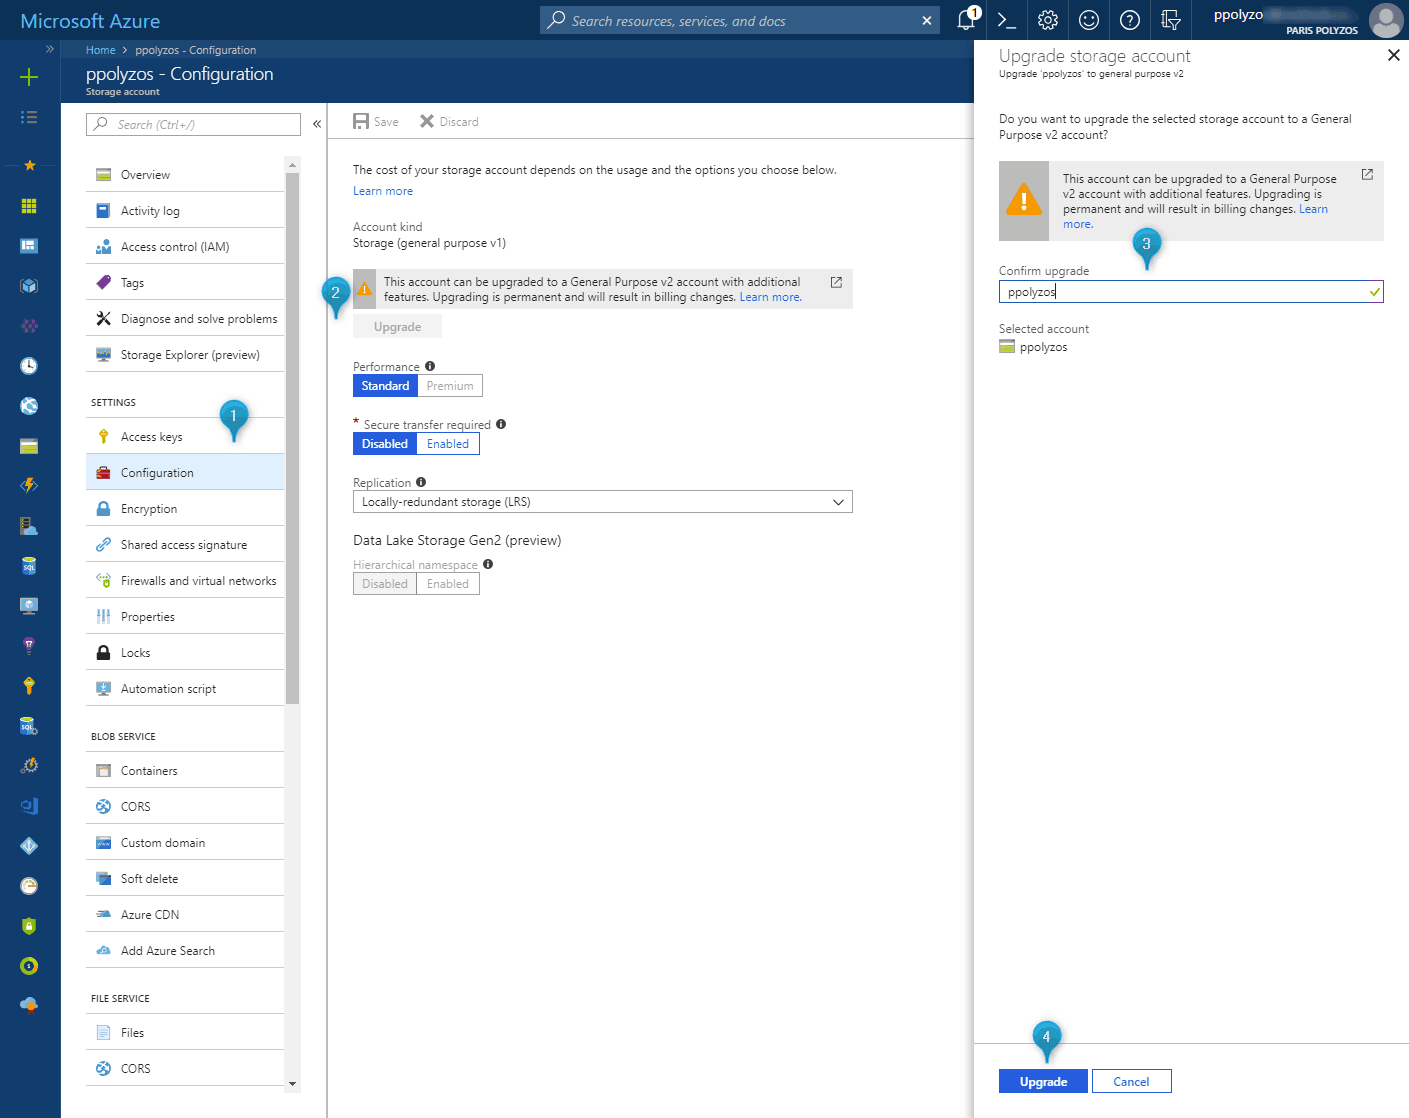
If you already have a storage account, you can easily upgrade it to StorageV2 by selecting the Configuration option in the left side menu, click on the Upgrade button, confirm your option and wait for a couple of seconds for the process to be completed.
Step 2. Enable Static Website
Configuring the blob service for static website hosting enables you to host static content in your storage account. To do so, click on the Static Website (preview) option from the left side menu and then, from the Static Website option, select Enabled.
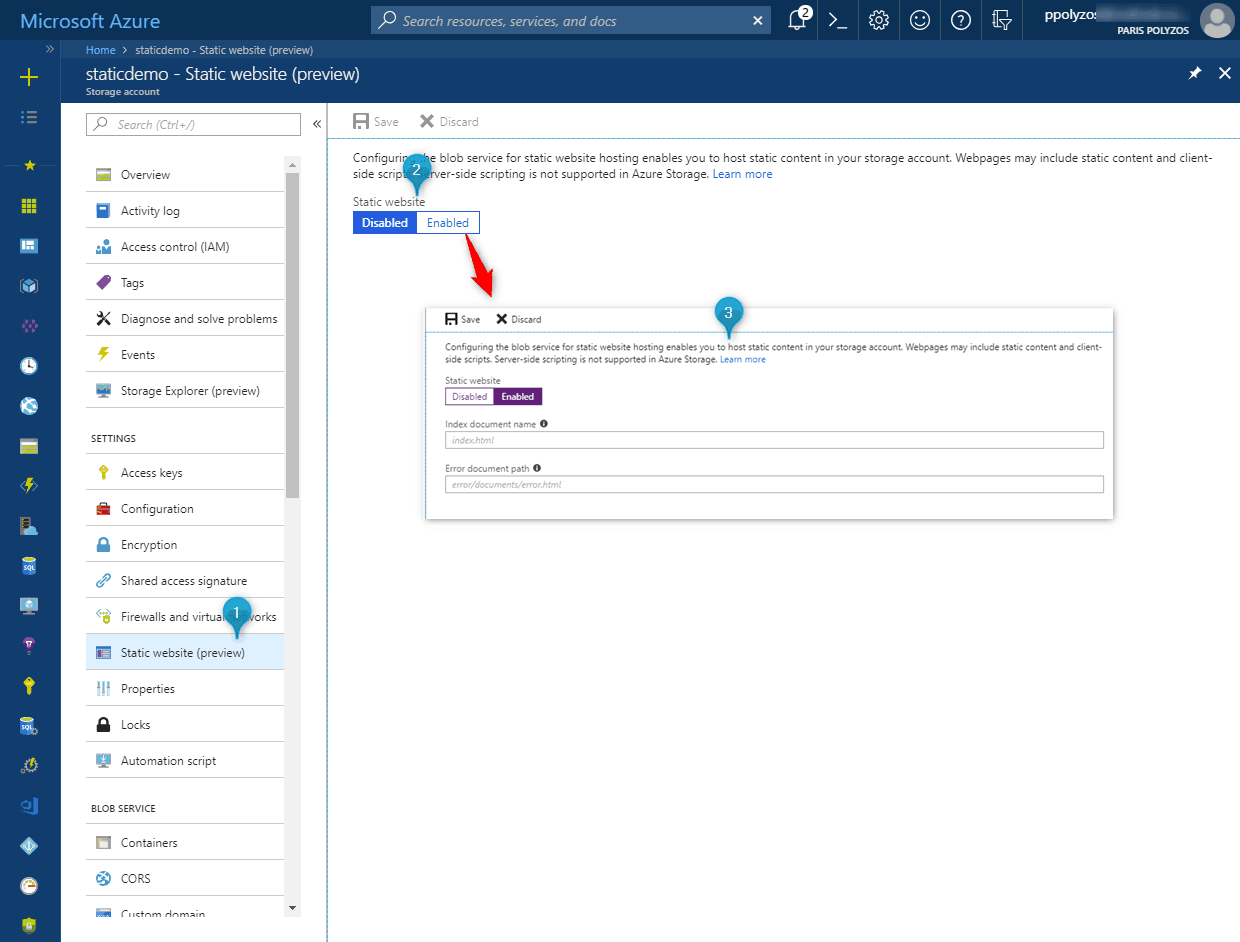
When the Static Website option is enabled, you will see something like the picture below:

- $web container is where your static website files will be uploaded
click on it if you want to use Storage Explorer to upload your content - Primary and secondary endpoints to access your website
When you configure your storage account for static website hosting, the website can be accessed via this region-specific web endpoint. It is different from the blob storage endpoint which you use to upload new content.
Step 3. Upload content using embedded Storage Explorer
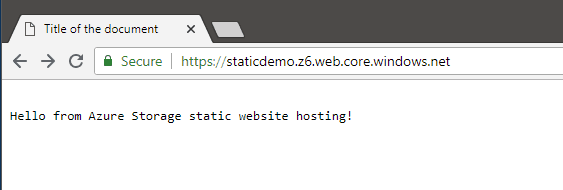
Next, we will use a very simple index.html to be the entry point of our static website:
<!DOCTYPE html>
<html>
<head>
<meta charset="UTF-8">
<title>Title of the document</title>
</head>

<body>
Hello from Azure Storage static website hosting!
</body>

</html>
To upload the file, one option is to use the embedded Storage Explorer option from the left side menu.

Once it is done, you may use the url address specified in the primary endpoint (https://staticdemo.z6.web.core.windows.net/) to view your site..
Static Website – 404 error
In case you see the following error, don’t forget to specify the Index document name, which is the name of the webpage that Azure Storage returns when a request is made to the root of the website or any subfolder, in the Static Website configuration, as shown in step 2.

Step 4. Use custom domain for your Static Website
You can also setup your custom domain to access your website without having to use either the primary or the secondary endpoint url.
To do so, select the Custom domain option from the left side menu
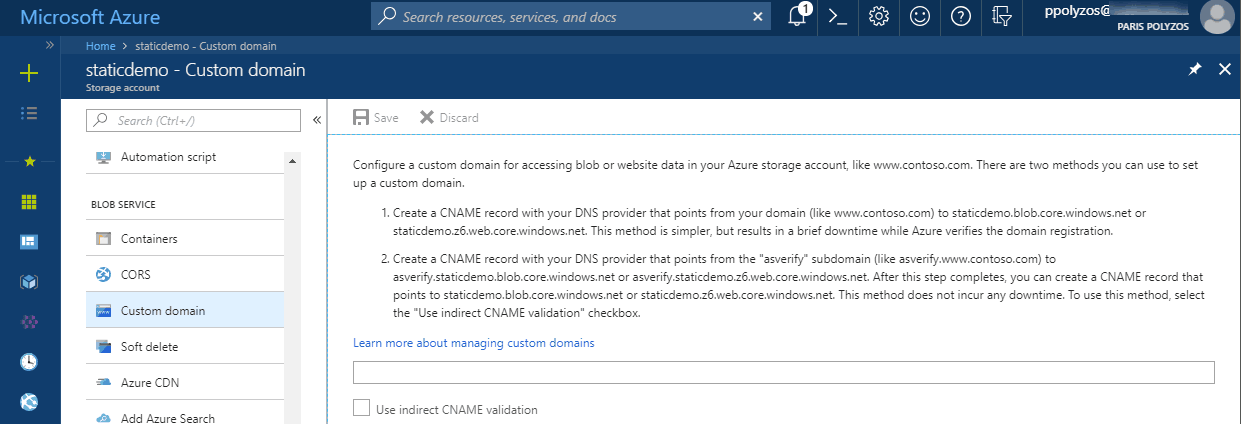
and proceed with one of the following two methods:
- Create a CNAME record with your DNS provider that points from your domain to staticdemo.blob.core.windows.net or staticdemo.z6.web.core.windows.ne
OR - Create a CNAME record with your DNS provider that points from the “asverify” subdomain (like asverify.www.contoso.com) to asverify.staticdemo.blob.core.windows.net or asverify.staticdemo.z6.web.core.windows.net. After this step is completed, you can create a CNAME record that points to staticdemo.blob.core.windows.net or staticdemo.z6.web.core.windows.net.