Parse was founded in 2011, in order to provide backend tools for mobile developers that help them store data in the cloud, manage identity logins, handle push notifications and run custom code in the cloud. In 2013 it was acquired by Facebook and in 2014 it was reported to power 500,000 mobile apps.
Parse Server is an open source version of the Parse backend, that can be deployed to any infrastructure which runs Node.js; furthermore, it works with the Express web application framework. It can be added to existing web applications, or run by itself.
On 28 January 2016, Facebook announced that it will close down Parse, with services effectively shutting down on 28 January 2017, while it will open the application source code in order to allow users to perform the migration and release Parse Server.
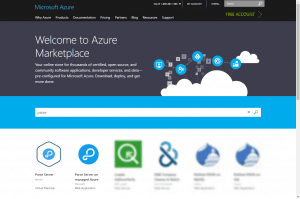
There are now several alternatives for Parse.com migration. Several vendors are able to host Parse applications, while Microsoft Azure provides two ways of hosting your own Parse Server, both available at the Azure MarketPlace.
This topic will be analyzed in two posts:
- the first one will explore the option of creating, deploying and managing your Parse Server as a pre-configured image; and
- the second one will explore the option of creating and deploying the Parse Server on managed Azure Services.
Parse Server as VM Image
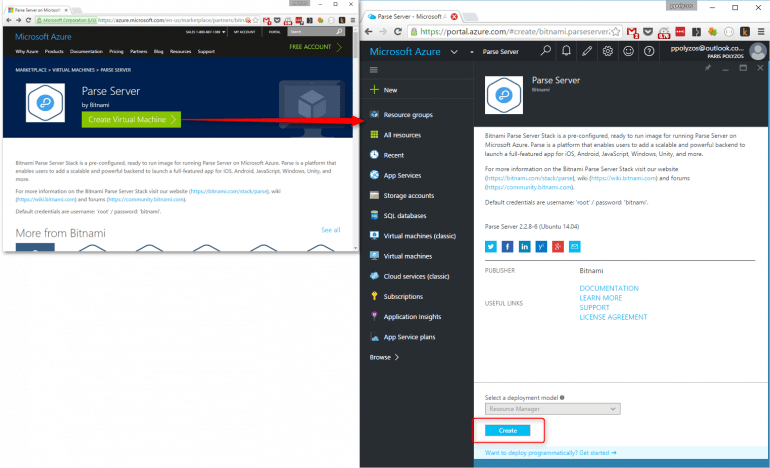
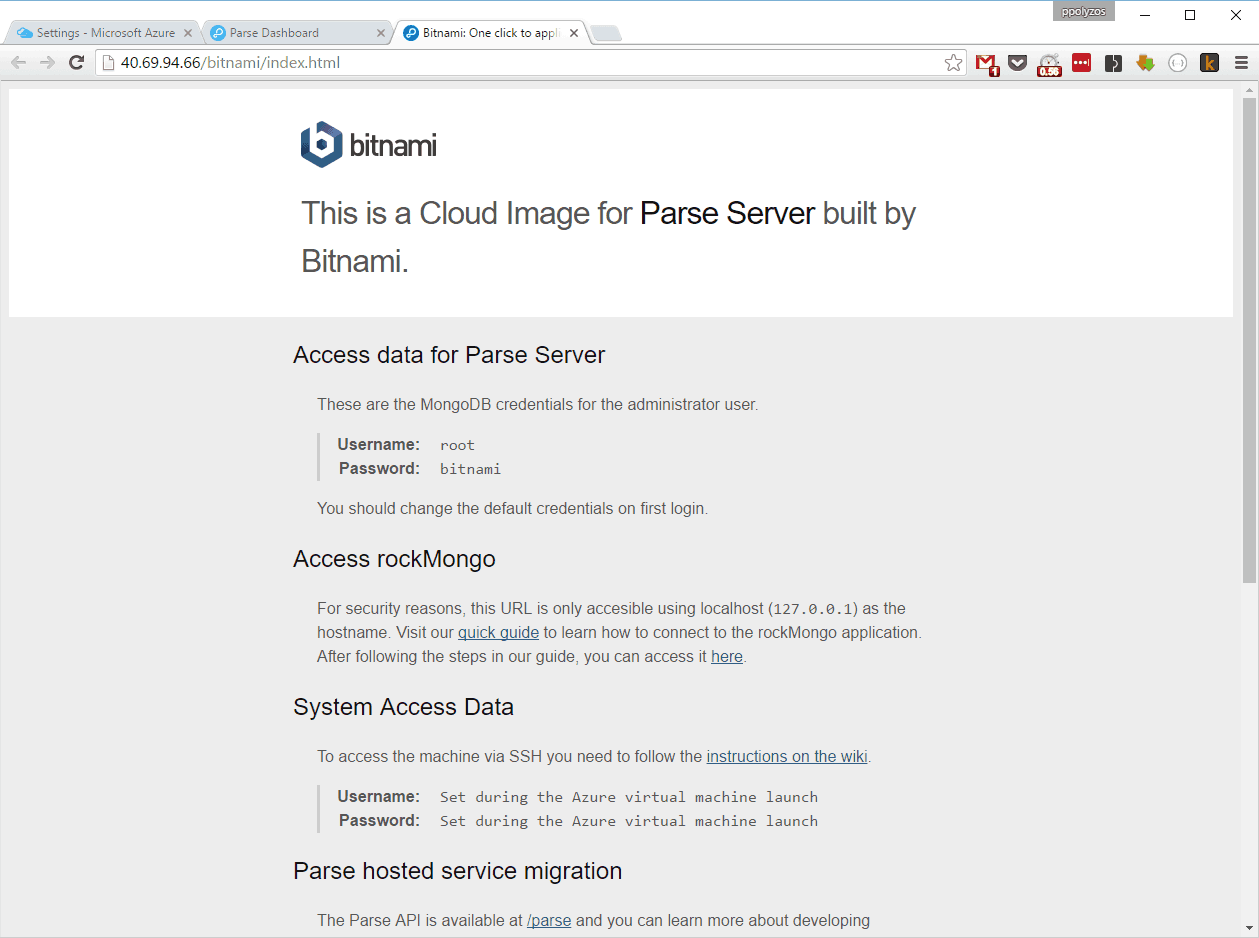
Microsoft’s Cloud Partner, Bitnami, provides a pre-configured, ready to run, VM image for running the Parse Server on Microsoft Azure; in order to create and deploy it, you need to follow these simple steps.
1. Create Virtual Machine
From Microsoft Azure MarketPlace select Parse Server (Bitnami) and click on the Create Virtual Machine button. This will lead you to your Azure account portal, to fill in some details for the deployment of your VM. Therefore, click on Create and start filling in the necessary details for your VM.
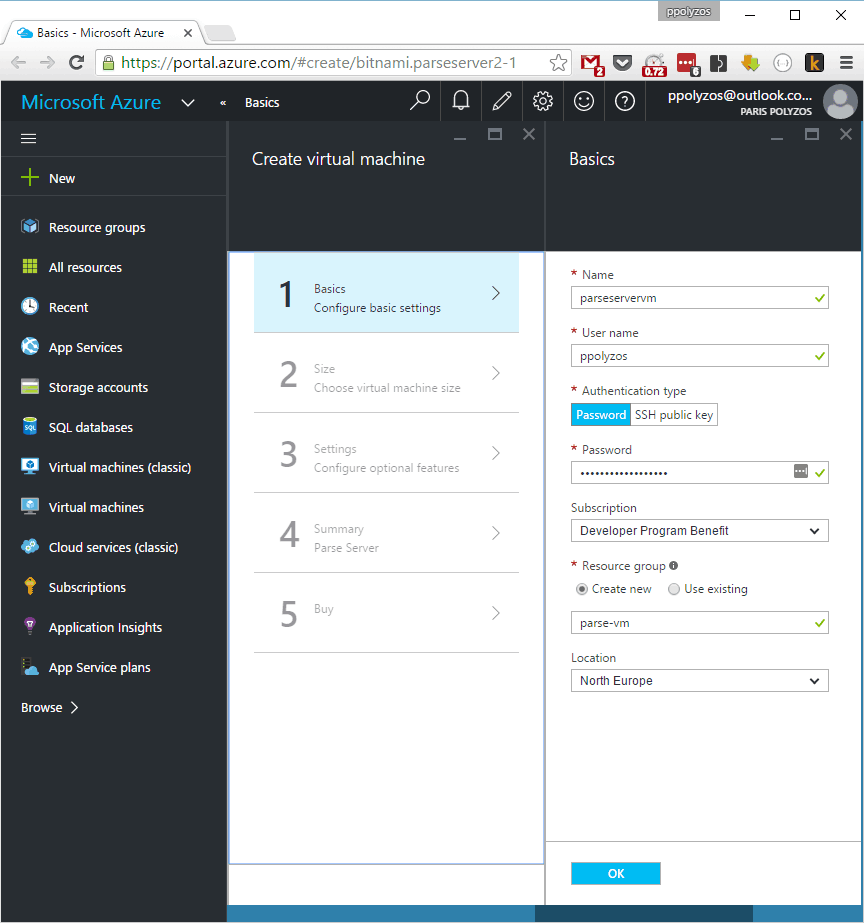
2. Configure Basics, Size and Settings
Basics
- Give a name to your VM;
- Specify a username and password to access it;
- Select the Resource Group that you will use;
Remember that, since the Resource Group is a collection of resources which share the same lifecycle, permissions and policies, it is a good idea to create a new one, to group all the resources related to your new Parse Server VM. - Specify the Location where you want your VM to be hosted;
It is better to select a location which is close to you or to the users that are going to use your VM.
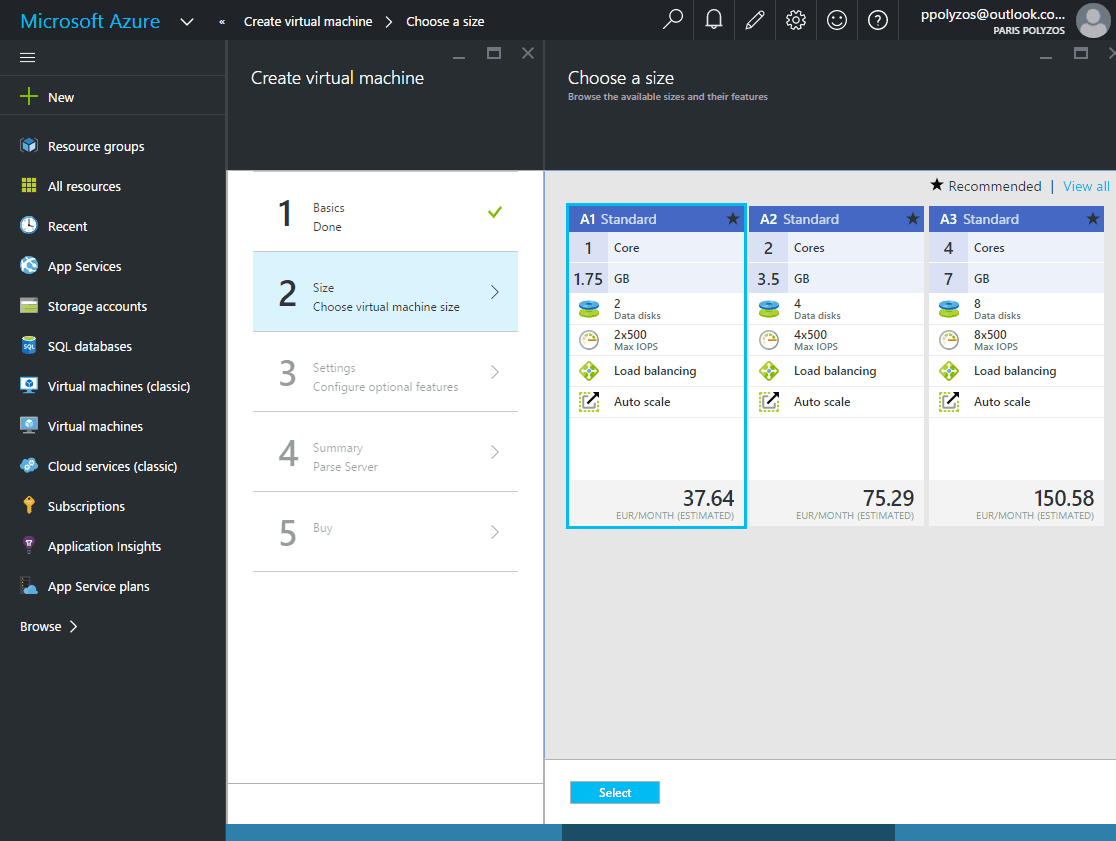
Size
- Select the Size of the Virtual Machine, based on the CPU cores, Memory and Storage that is appropriate to your deployment.
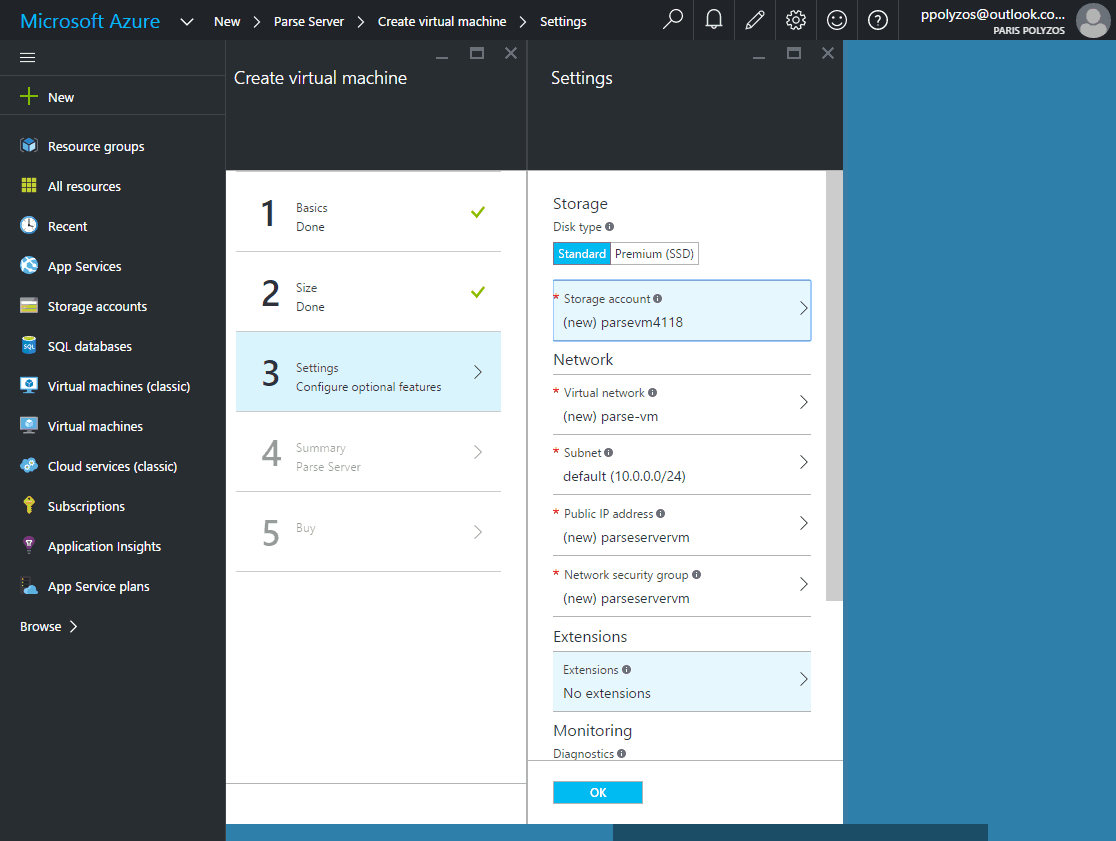
Settings
- This section allows you to choose the Storage Account your VM will use, Network-related properties like The Subnet you are going to use, the Public IP that will be bound to your VM, etc. If you have no previous experience with Microsoft Azure, I would recommend you to not change the settings and choose the default ones.
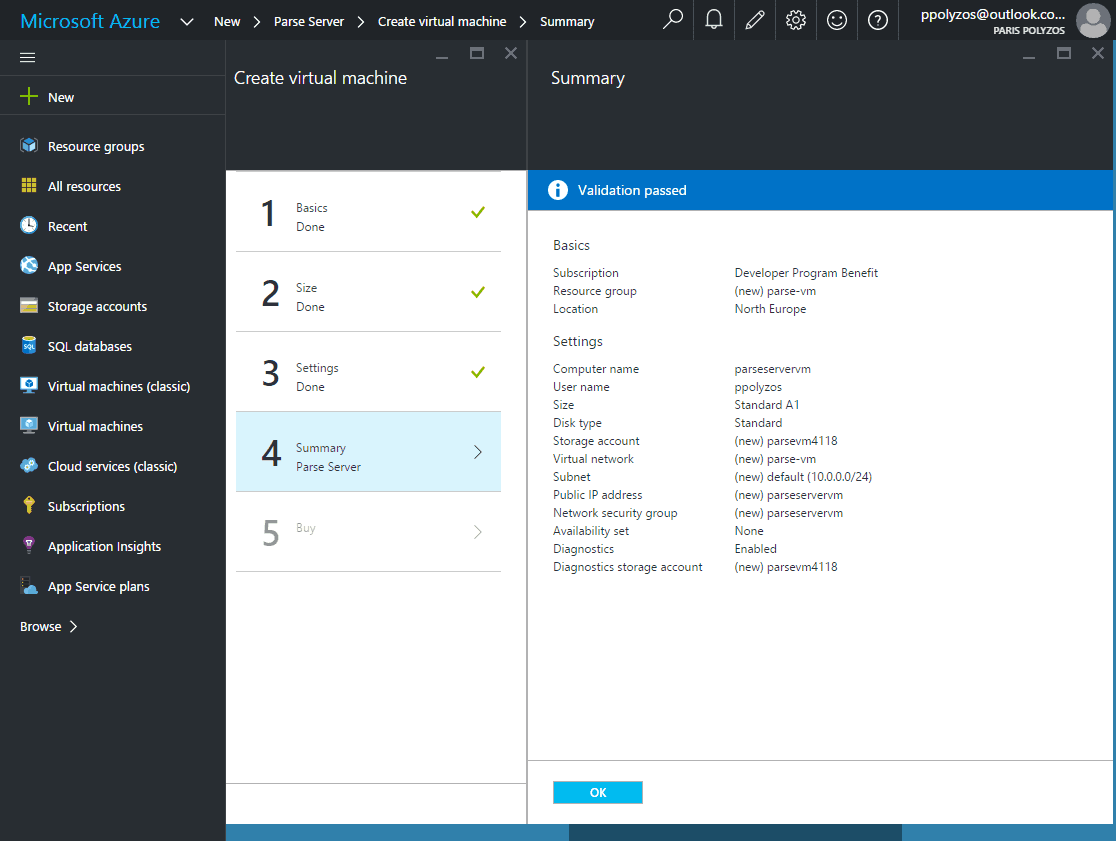
Summary
- The configuration you have previously defined will be validated, and if it is successful you will be able to move to the final step.
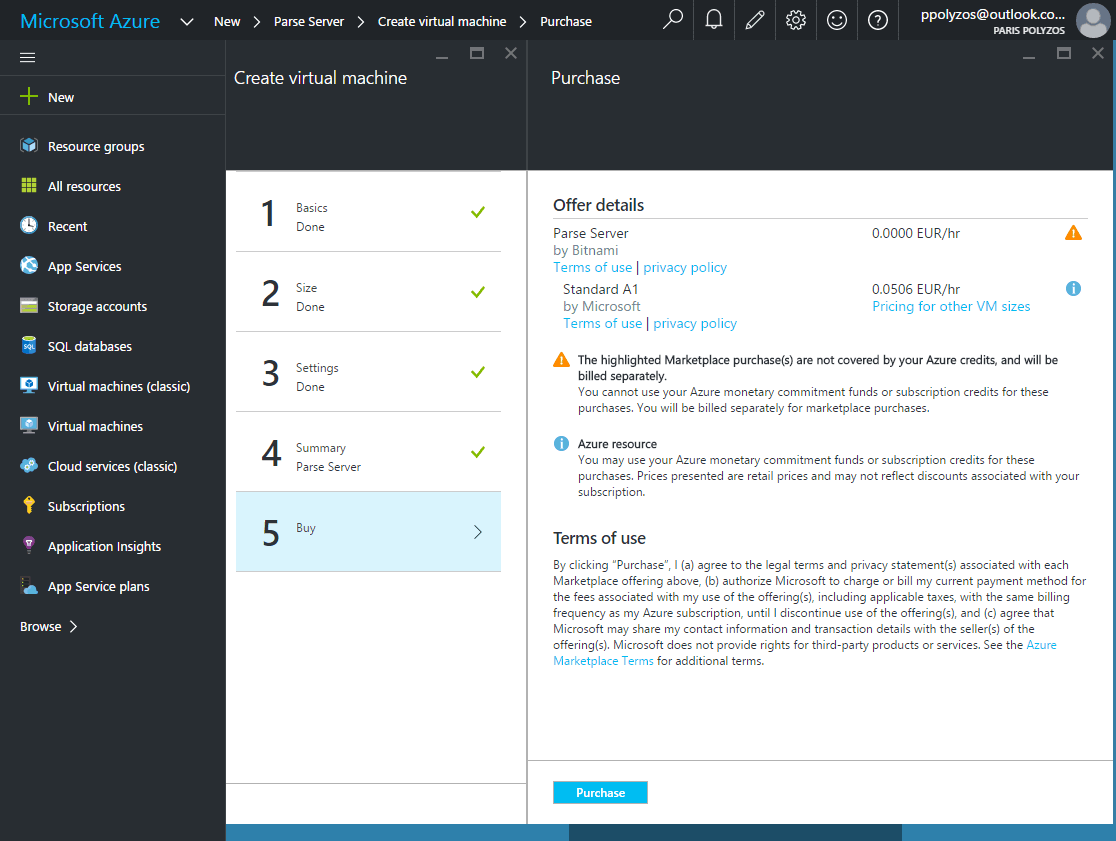
Buy
- In this section you get an overview of the VM that will be created and the Pricing details, namely the amount you will pay to run your VM.
3. Test your Deployment
After your deployment has been completed, you will be able to see all related resources, while in Settings -> Resource Costs you will be able to see the cost breakdown of your deployment.
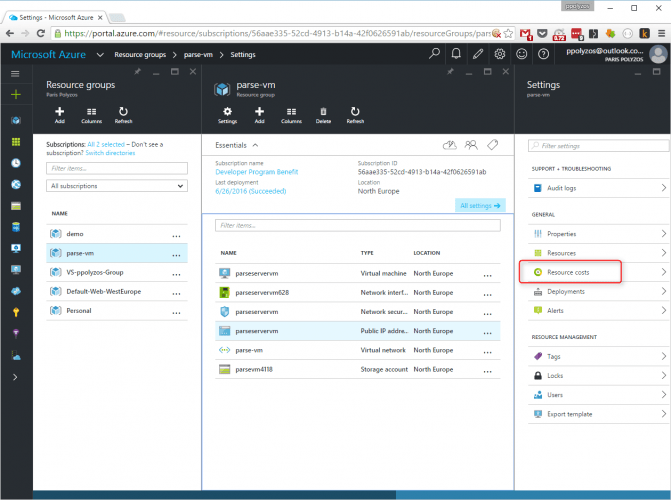
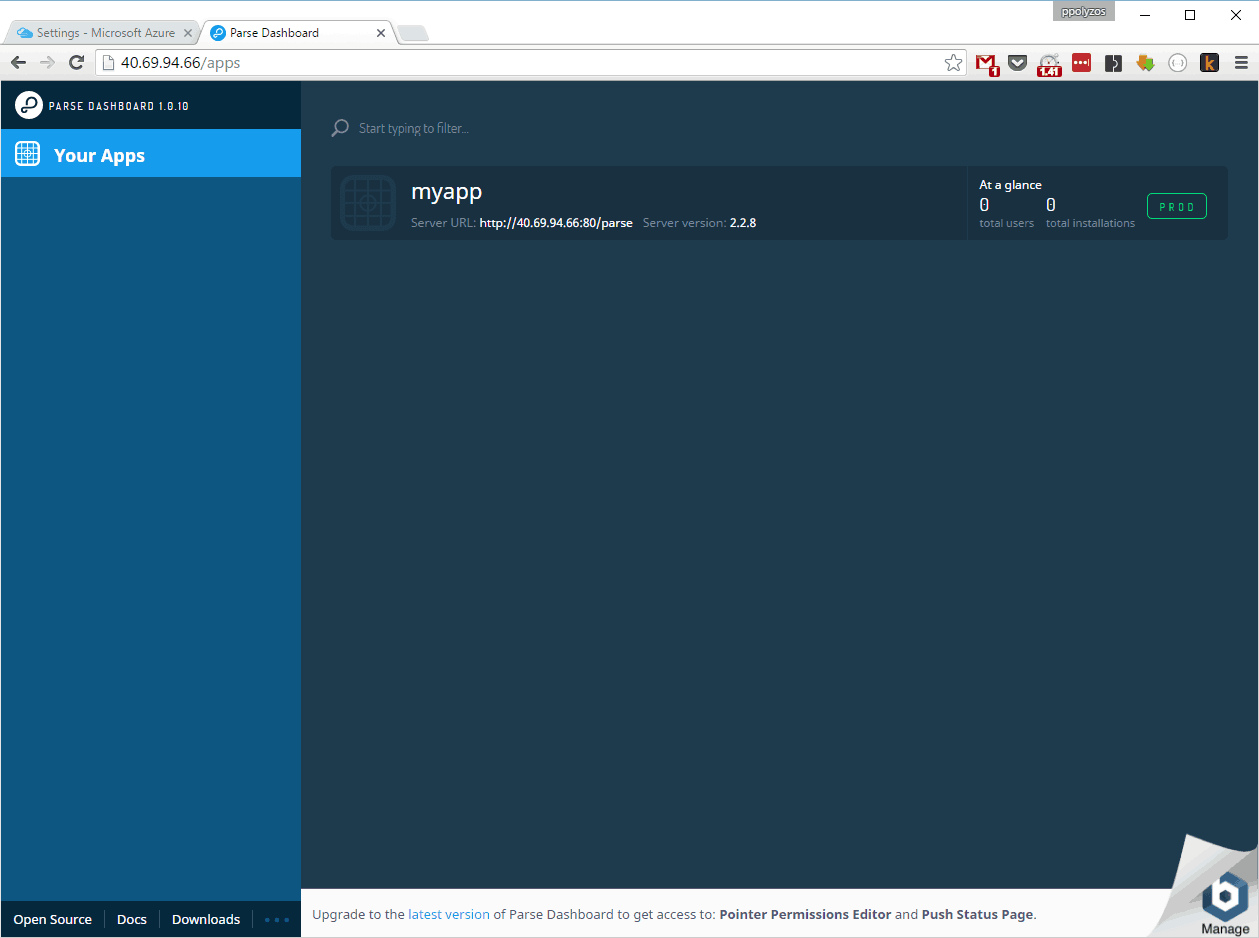
One of the resources is your actual Virtual Machine, a Linux-based VM running Ubuntu 14.04, which has a public IP;

via which you can access your Parse Server and start using it.
Conclusion
By creating your own VM, you will be responsible for managing everything, from the operating system to the application you are running. You have the flexibility to configure everything, the way you want. However, keep in mind that the Parse Server was built to help developers prototype their mobile apps fast and easy, so I guess the next option, that is creating a Parse Server on managed Azure Services, will suit you more.
Please note that when deploying a VM on Azure you only have to pay for the resources that you are actually using; the smallest VM size available starts at around €35/month. So, if you are someone who just wants to try it out or develop a new app, I guess this cost is quite high compared to alternatives. On the other hand, the Parse Server on managed Azure Services starts for free and you have the option to scale up only when you really need it.