RetroPie allows you to turn your Raspberry Pi into a retro-gaming machine. It builds upon Raspbian, EmulationStation, RetroArch and many other projects to enable you to play your favorite Arcade, home-console, and classic PC games with the minimum set up.
Setup
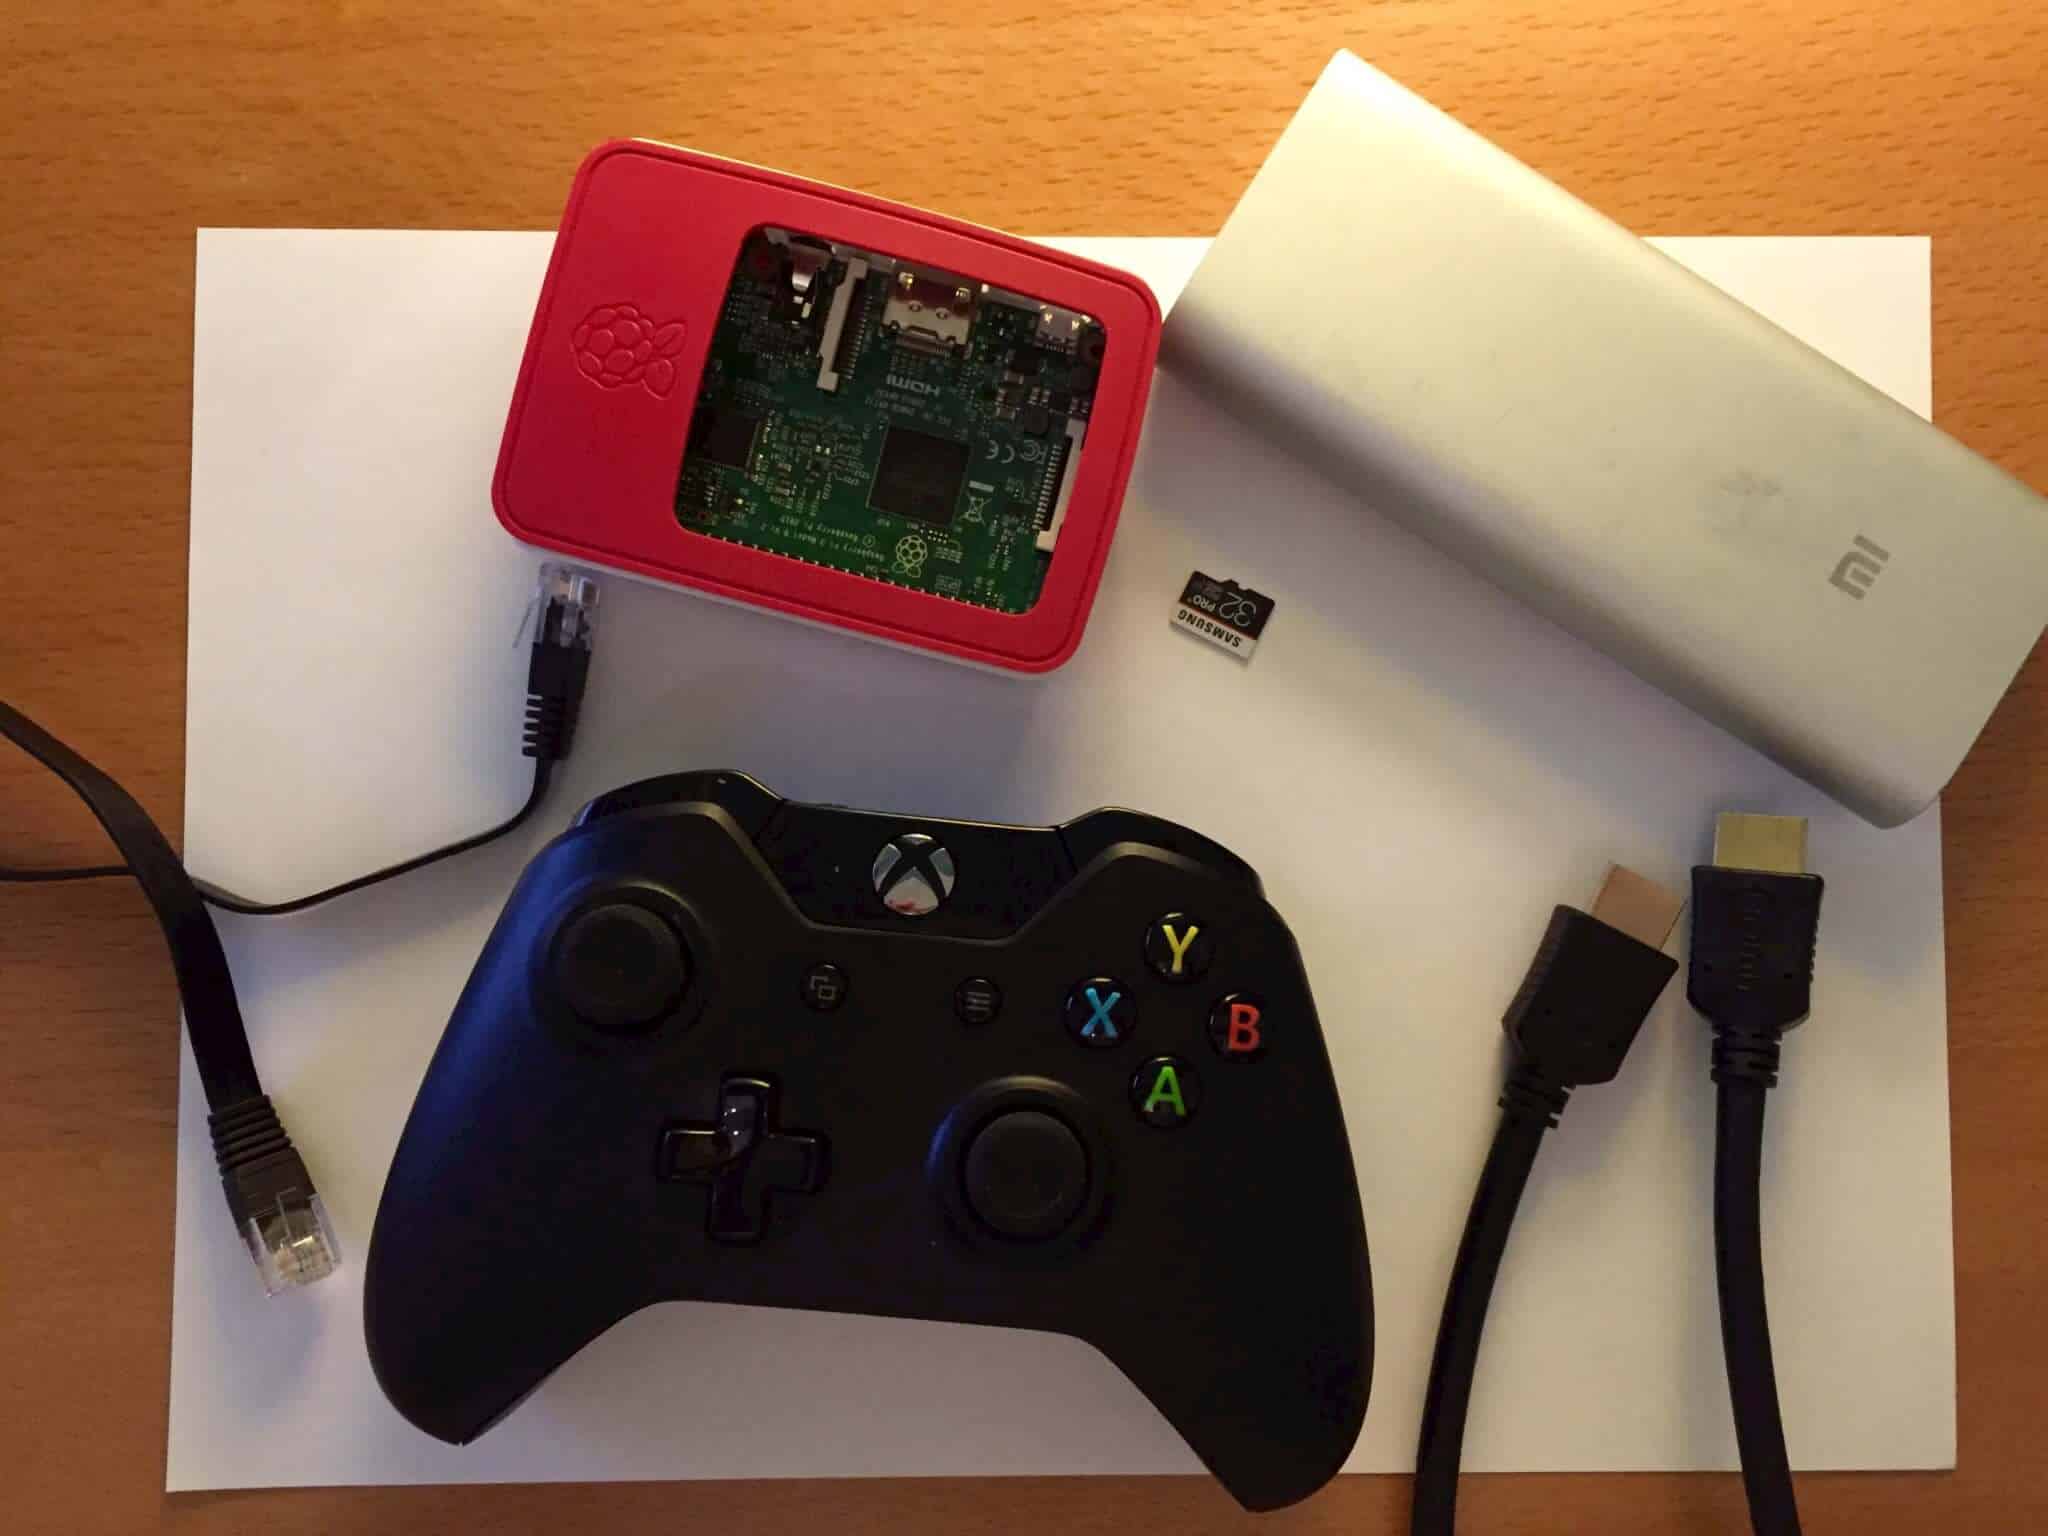
To set it up you need the following:
- Raspberry PI 3
- MicroSD card
- HDMI cable
- Powerbank or 5V 2.5A micro USB power supply
- Ethernet cable for initial setup
Installation
Installing RetroPie is very smooth and easy.
You should start by downloading the SD image for your version of Raspberry Pi from https://retropie.org.uk/download/ and then extract the downloaded .gz file, which file will be a .img one.
In order to install it on your SD card you need a program called Win32DiskImager, if you are on Windows.
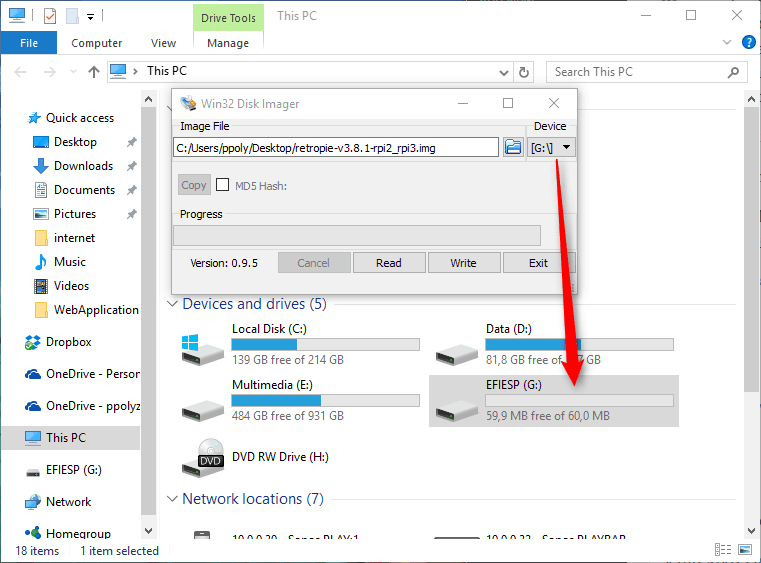
Your SD card might appear to have less capacity than the usual one. Mine is 32GB but, as you can see, it appears to be of 60MB. This is because I already used it for other Raspberry-related installations and because EXT4 file system is not visible on Windows systems. Click on Write and in about a minute the process will have been finished.
For more info, or in case you are using Mac or Linux, you can read this guide.
Afterwards, remove the SD card from your machine, plug it in your Raspberry PI and power it on.
On the first boot, the filesystem will be expanded automatically and then you will be welcomed with a screen to configure your controllers.
Configuration
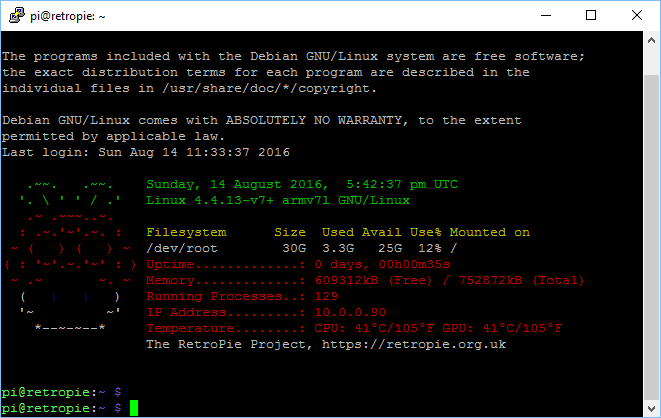
To configure your Retropie system you can connect to it remotely through SSH.
Find the IP in your network and then SSH using defaults:
- username: pi
- password: raspberry
For all the available options you can run the following script:
sudo RetroPie-Setup/retropie_setup.sh
where you get a GUI with all the available options:

Xbox One Controllers
Although many controllers are supported out of the box, mine, an Xbox One controller, appears to not be working properly. After some time, I realized that the problem lies with a specific model, the 1697, so here is a workaround to fix it.
While still on SSH, run the following commands:
# Get rpi-source headers from here
# https://www.niksula.hut.fi/~mhiienka/Rpi/linux-headers-rpi
##
sudo wget https://raw.githubusercontent.com/notro/rpi-source/master/rpi-source -O /usr/bin/rpi-source && sudo chmod +x /usr/bin/rpi-source && /usr/bin/rpi-source -q --tag-update

# Install BC the GNU arbitrary precision calculator language
sudo apt-get install bc

# Run it
sudo rpi-source

# Fetch and install the latest version of xpad.
# https://github.com/paroj/xpad/blob/master/xpad.c#L131
##
sudo git clone https://github.com/paroj/xpad.git /usr/src/xpad-0.4
sudo apt-get install dkms
sudo dkms install -m xpad -v 0.4
sudo
After rebooting, hold any button on your Xbox one controller and the controller name will appear at the bottom. Then the configuration menu will appear:
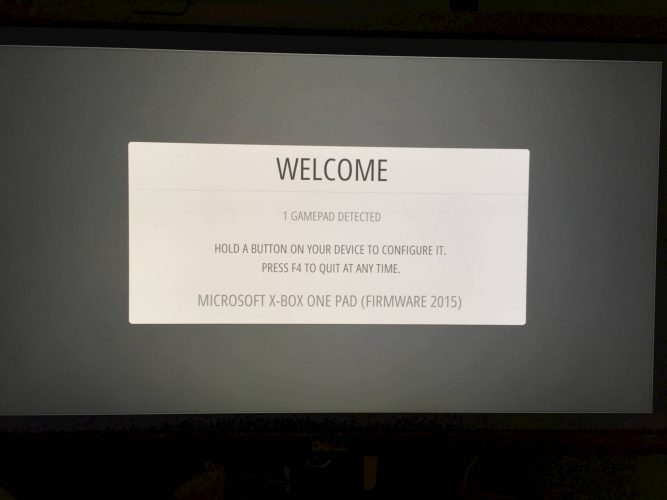
Follow the onscreen instructions to configure the controller and if you want to skip a button, just press and hold this button for a few seconds.
Installing Roms
Due to the nature/complexity of copyright/Intellectual Property Rights Law, which differs significantly from Country to Country, ROMs cannot be provided with RetroPie and must be provided by the user. You should only have ROMs of games that you own.
If you have some you can connect through SFTP, using your favorite program like WinSCP or Cyberduck and simply drag-n-drop you ROMs to the appropriate folder.
For example if you own a ROM of Super Mario Bros 3 you put it in `/home/pi/RetroPie/roms/nes`.
Is that the XBOX One controller that has Bluetooth? Or did you plug it into the USB port? Thanks.
This is the XBOX One controller and in order to work I plugged it into the USB port using the charging cable. I haven’t tried the Xbox Wireless Adapter, but based on this article I guess it’s pretty easy.
Have a look at this section:
It doesn’t work for me in retropie 4.1 with lastest kernel.
My model is 1697
I have mine in v3.7 and works fine but as I read in forums this is not the case for v4.1.
You can have a look at this thread especially at this comment and give it a try.
In addition, you can have a look at this comment and follow the steps presented.
With Xbox 360 controllers may have some issues with without 10 but with the help of these solutions, you can easily resolve them.
Yes, surprisingly its work thanks for sharing.